EASTD199 Software Installation
Overview
This guide is organized into two sessions:
- Session 1: Quick Setup with AI Agents — Register a GitHub account, install Antigravity and Codex, then use them to install everything else (package managers, Git, GitHub CLI, GLM-OCR) and fix common issues.
- Session 2: Step-by-Step Reference — Detailed manual instructions for every tool, in case you prefer to do things yourself or need to troubleshoot.
Session 1: Quick Setup with AI Agents
The idea behind this session is simple: register a GitHub account first (you will need it later), then install two AI-powered tools, and let them help you install and configure everything else. You do not need to memorize commands — just describe what you need in plain English.
1.1 Register a GitHub Account
This step must be done manually — AI agents cannot create accounts for you. If you already have a GitHub account, skip to 1.2.
GitHub is a cloud platform for hosting code and websites. You will need a GitHub account for Git configuration, GitHub CLI authentication, and publishing your website to GitHub Pages.
- Go to https://github.com/signup.
- Enter your email, password, and username (or click “Continue with Google”).
- Complete the verification and click “Create account”.
- Verify your email by clicking the link GitHub sends you.
Choose your username carefully — it will become part of your website URL: https://your-username.github.io. A short, professional username is recommended.
1.2 Install Antigravity
Antigravity is a free, AI-powered code editor developed by Google. It is built on top of Visual Studio Code (VS Code) with built-in AI assistants (powered by Gemini) that can write code, generate files, debug errors, and run terminal commands on your behalf.
- Go to https://antigravity.google/download.
- Download the installer for your operating system (the site auto-detects it).
- Install:
- macOS: Open the
.dmg, drag Antigravity into Applications. If macOS blocks it, go to System Settings > Privacy & Security > Open Anyway. - Windows: Run the
.exeinstaller and follow the prompts.
- macOS: Open the
- Create a project folder: Before opening Antigravity, create a folder called
eastd199on your Desktop. This will be your working folder for this workshop.- macOS: Open Finder → go to Desktop → right-click → New Folder → name it
eastd199. - Windows: Open File Explorer → go to Desktop → right-click → New → Folder → name it
eastd199.
- macOS: Open Finder → go to Desktop → right-click → New Folder → name it
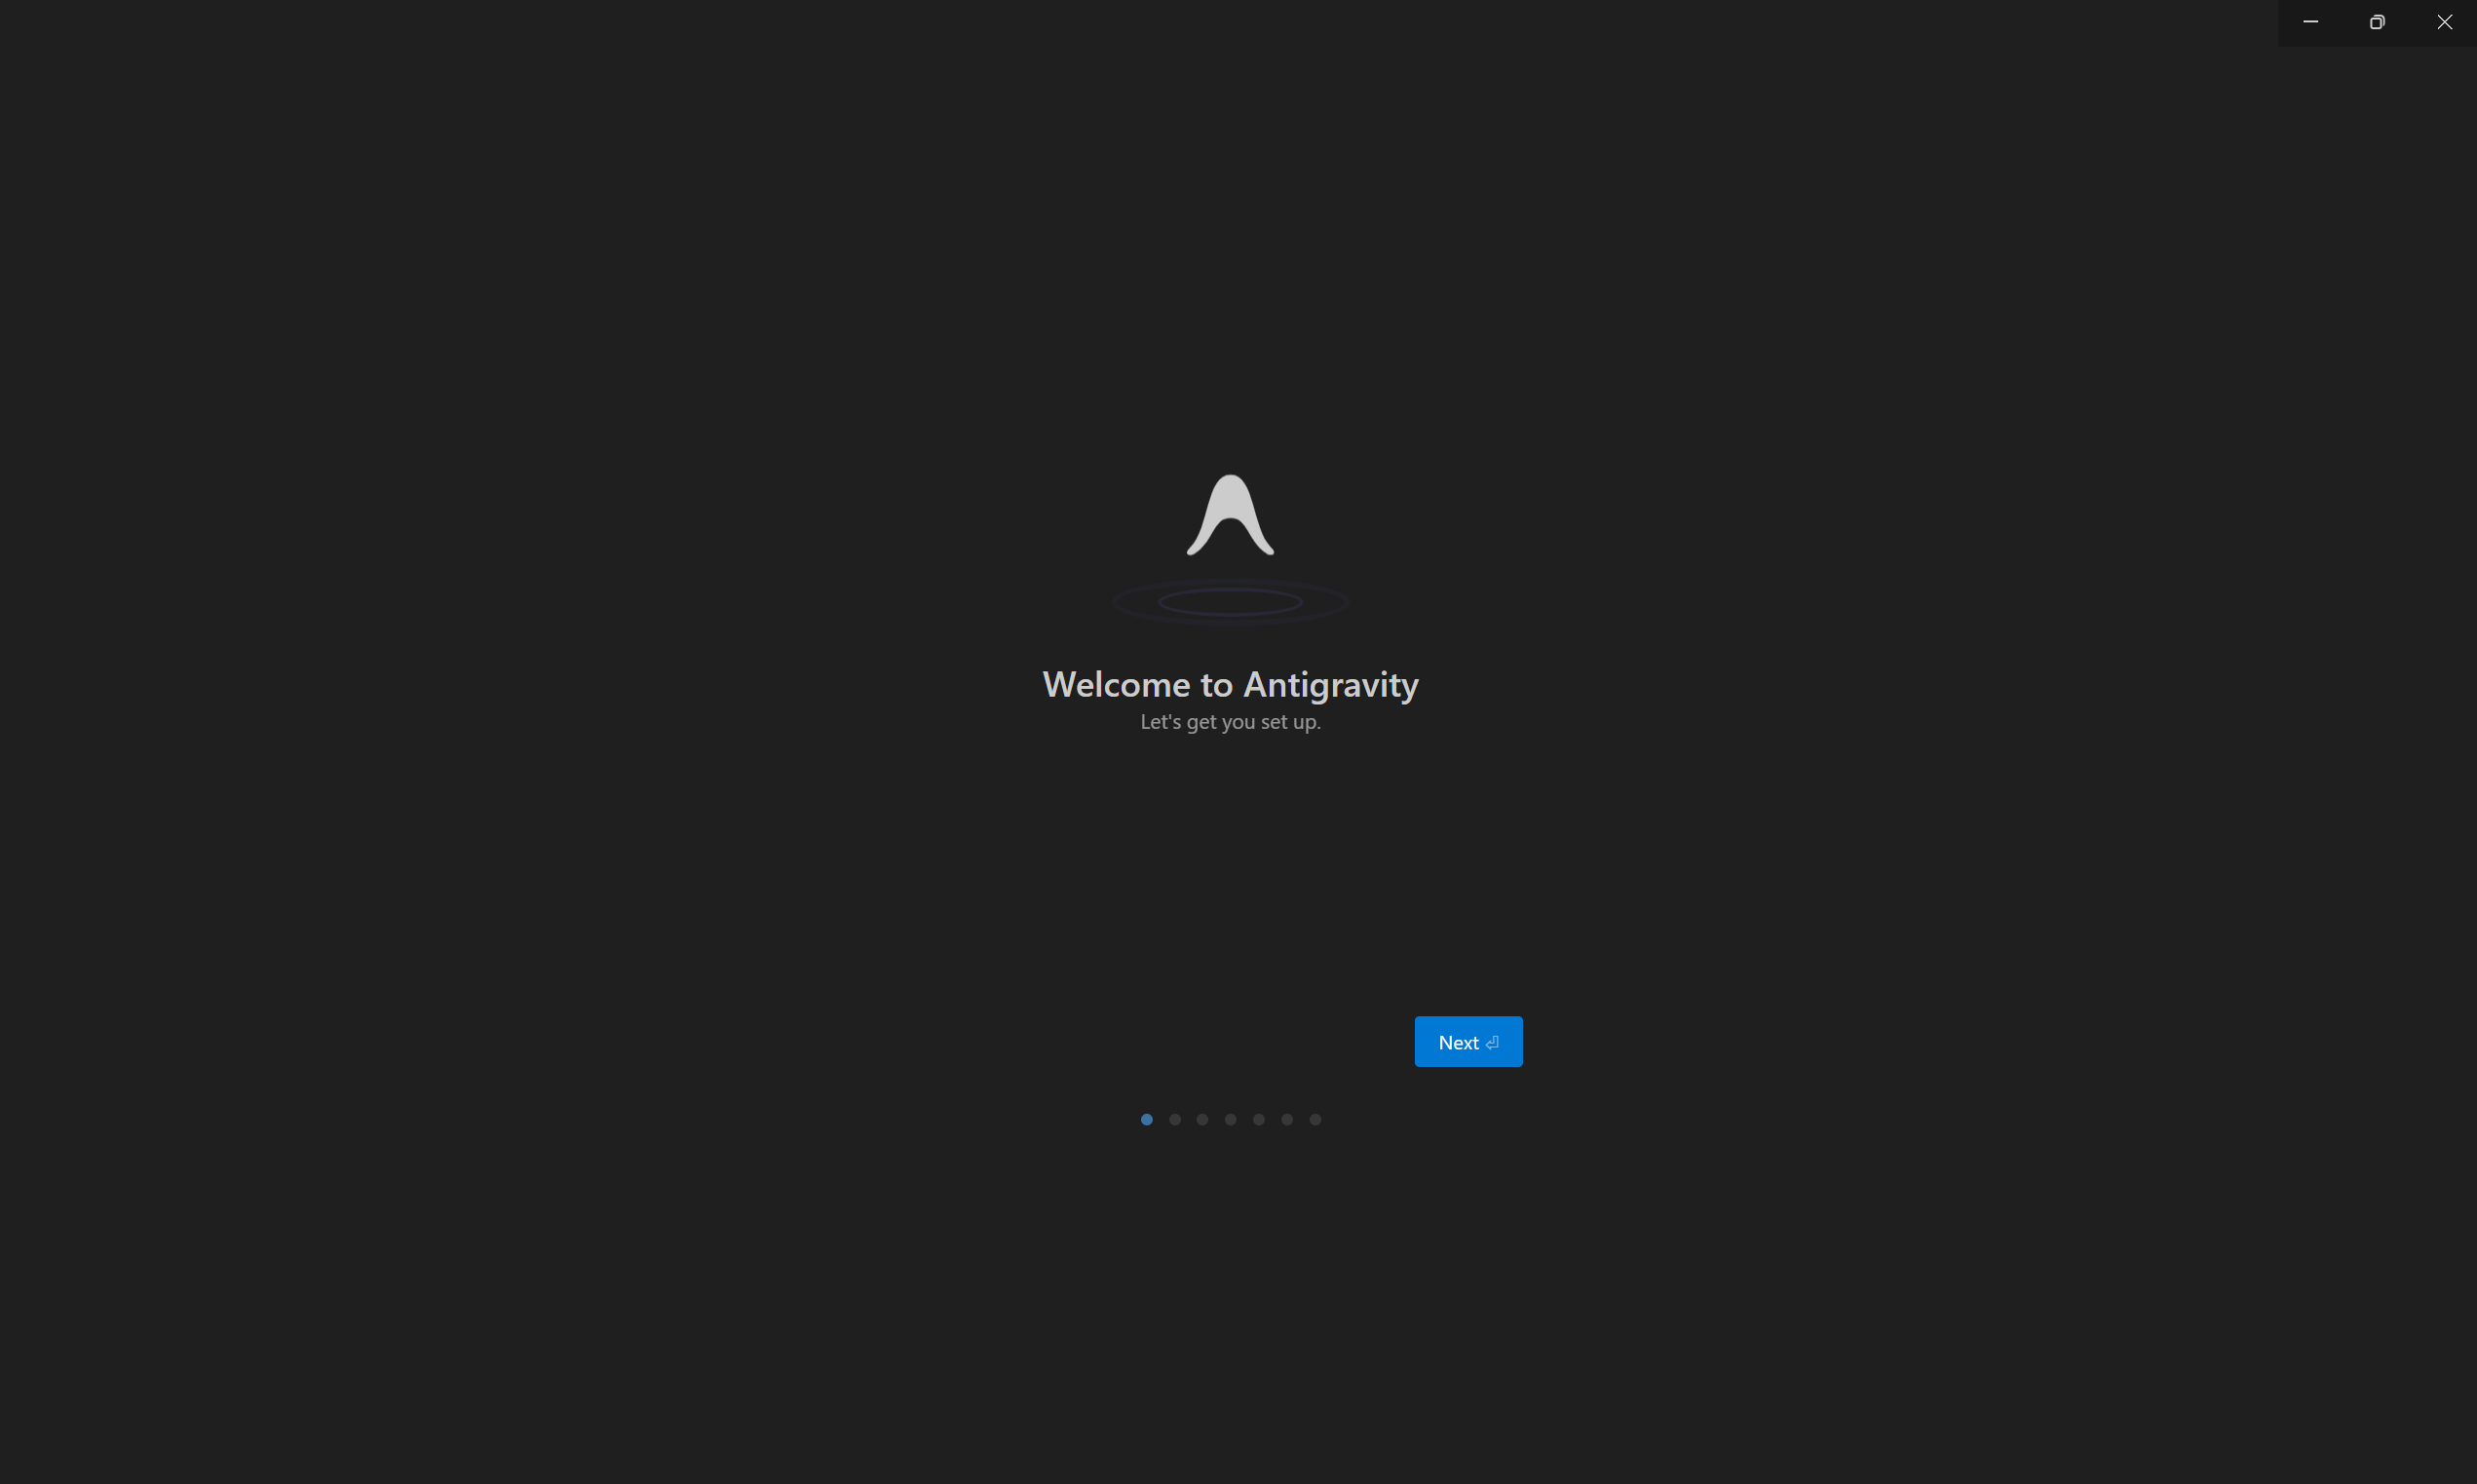
- Launch Antigravity. You will see the welcome screen. Click Next to proceed.
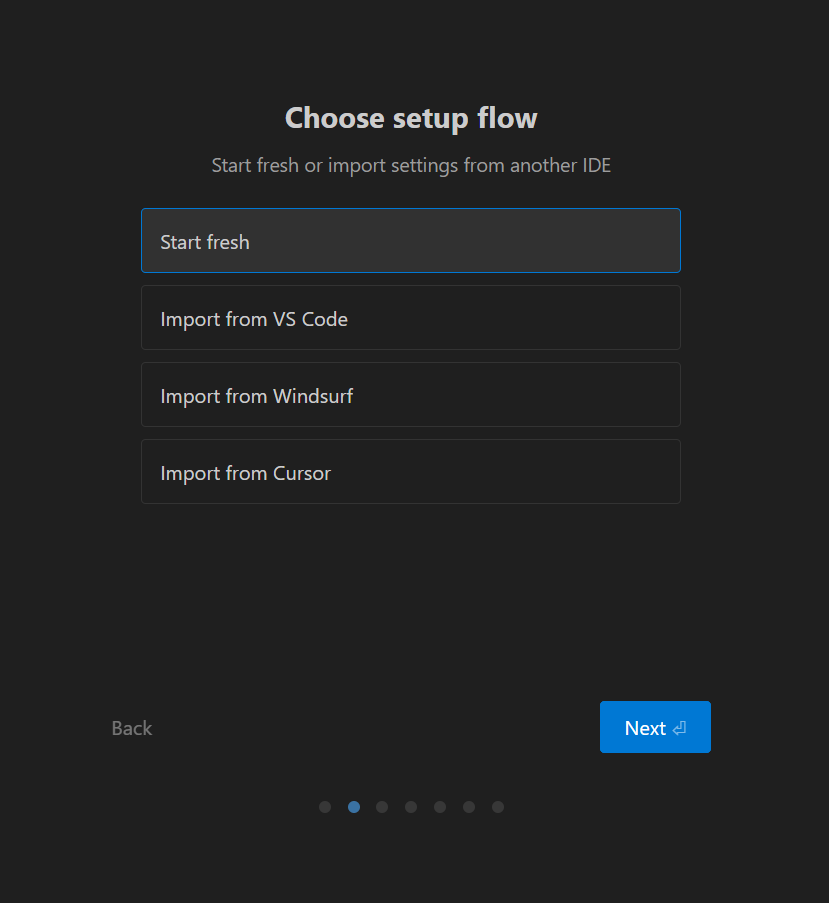
- Choose setup flow: Select “Start fresh” (unless you have VS Code, Windsurf, or Cursor settings you want to import). Click Next.
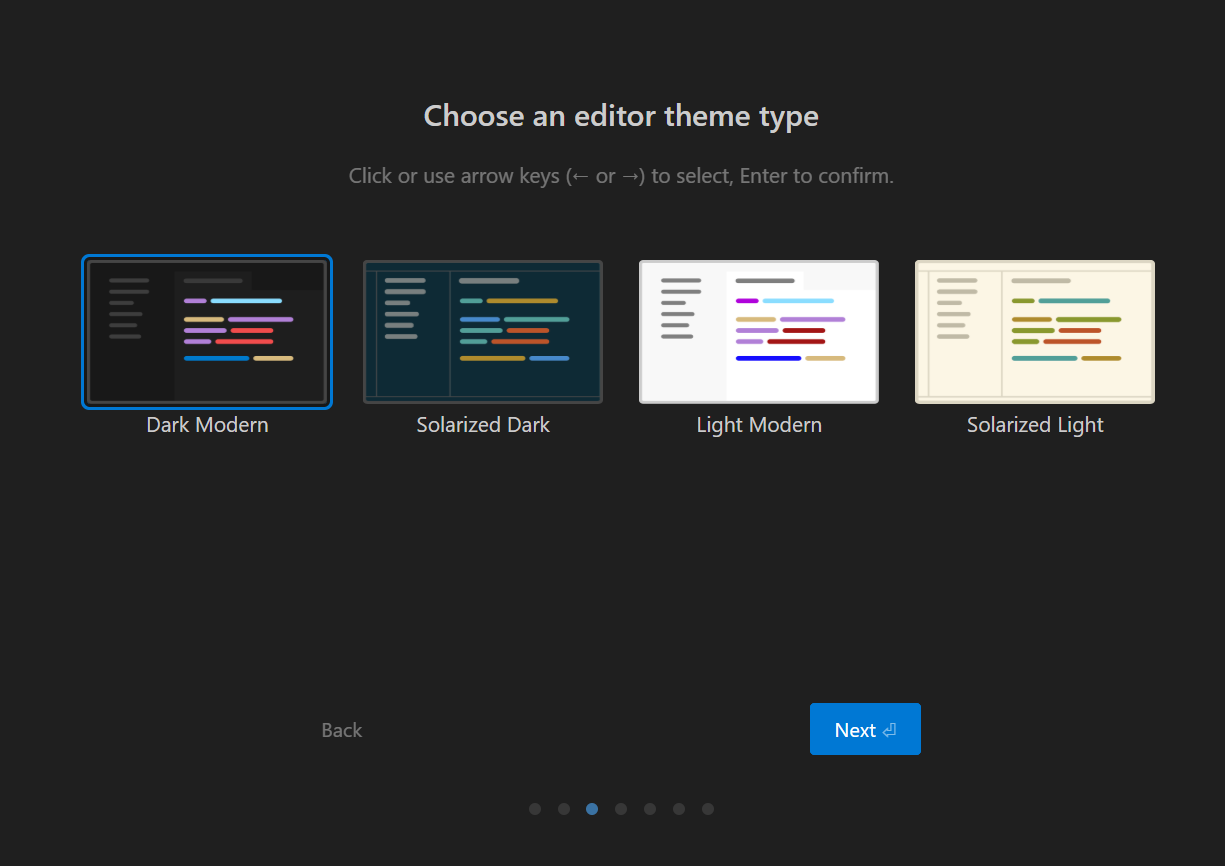
- Choose an editor theme: Pick whichever theme you prefer (Dark Modern is the default). Click Next.
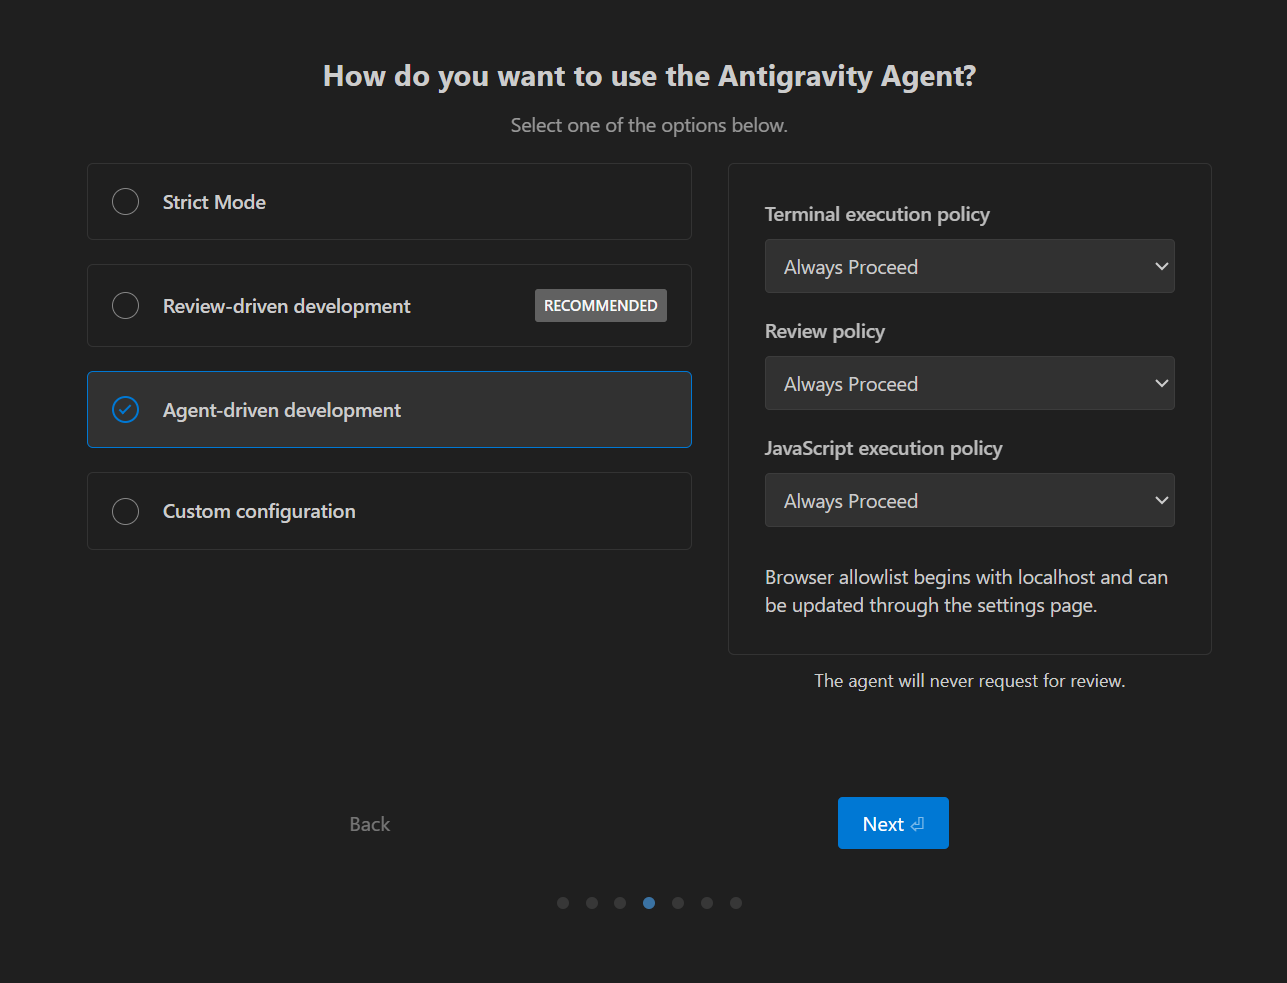
- Choose agent mode: Select “Agent-driven development”. This gives the AI agent full autonomy to execute terminal commands and write files on your behalf — which is what we want for this workshop. Click Next.
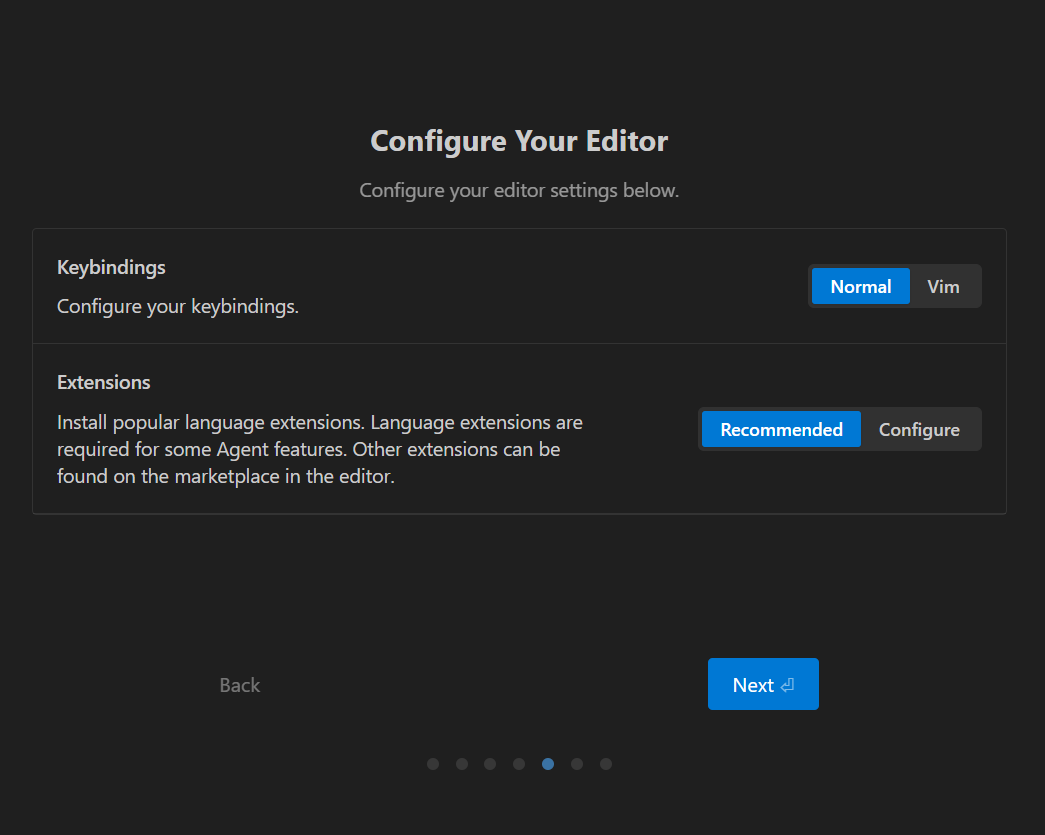
- Configure your editor: Keep the default settings — Normal keybindings and Recommended extensions. Click Next.
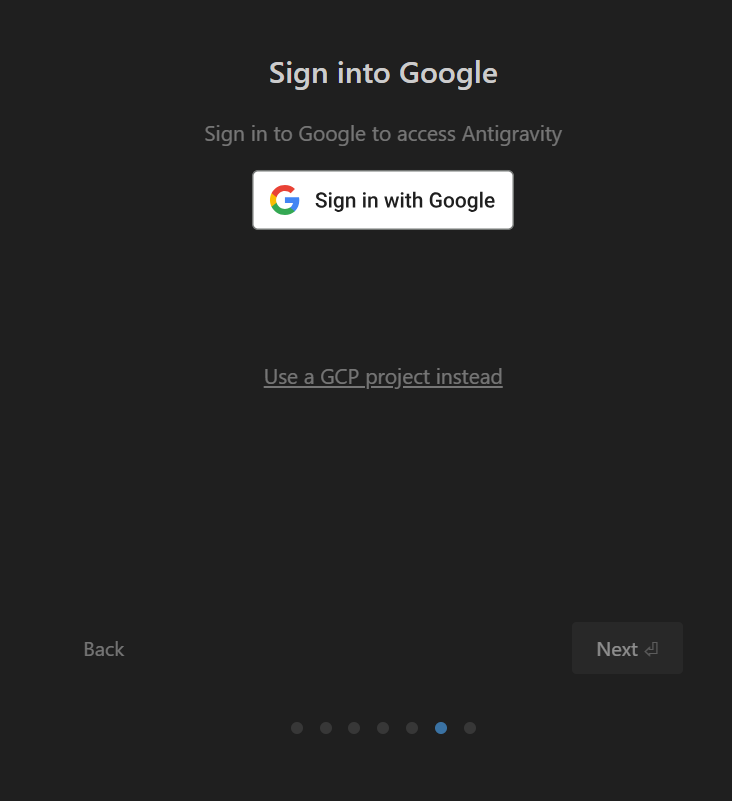
- Sign into Google: Click “Sign in with Google” and log in with your Gmail account.
- Open the project folder: After sign-in, you will see the main Antigravity screen. Click “Open Folder” and select the
eastd199folder on your Desktop.
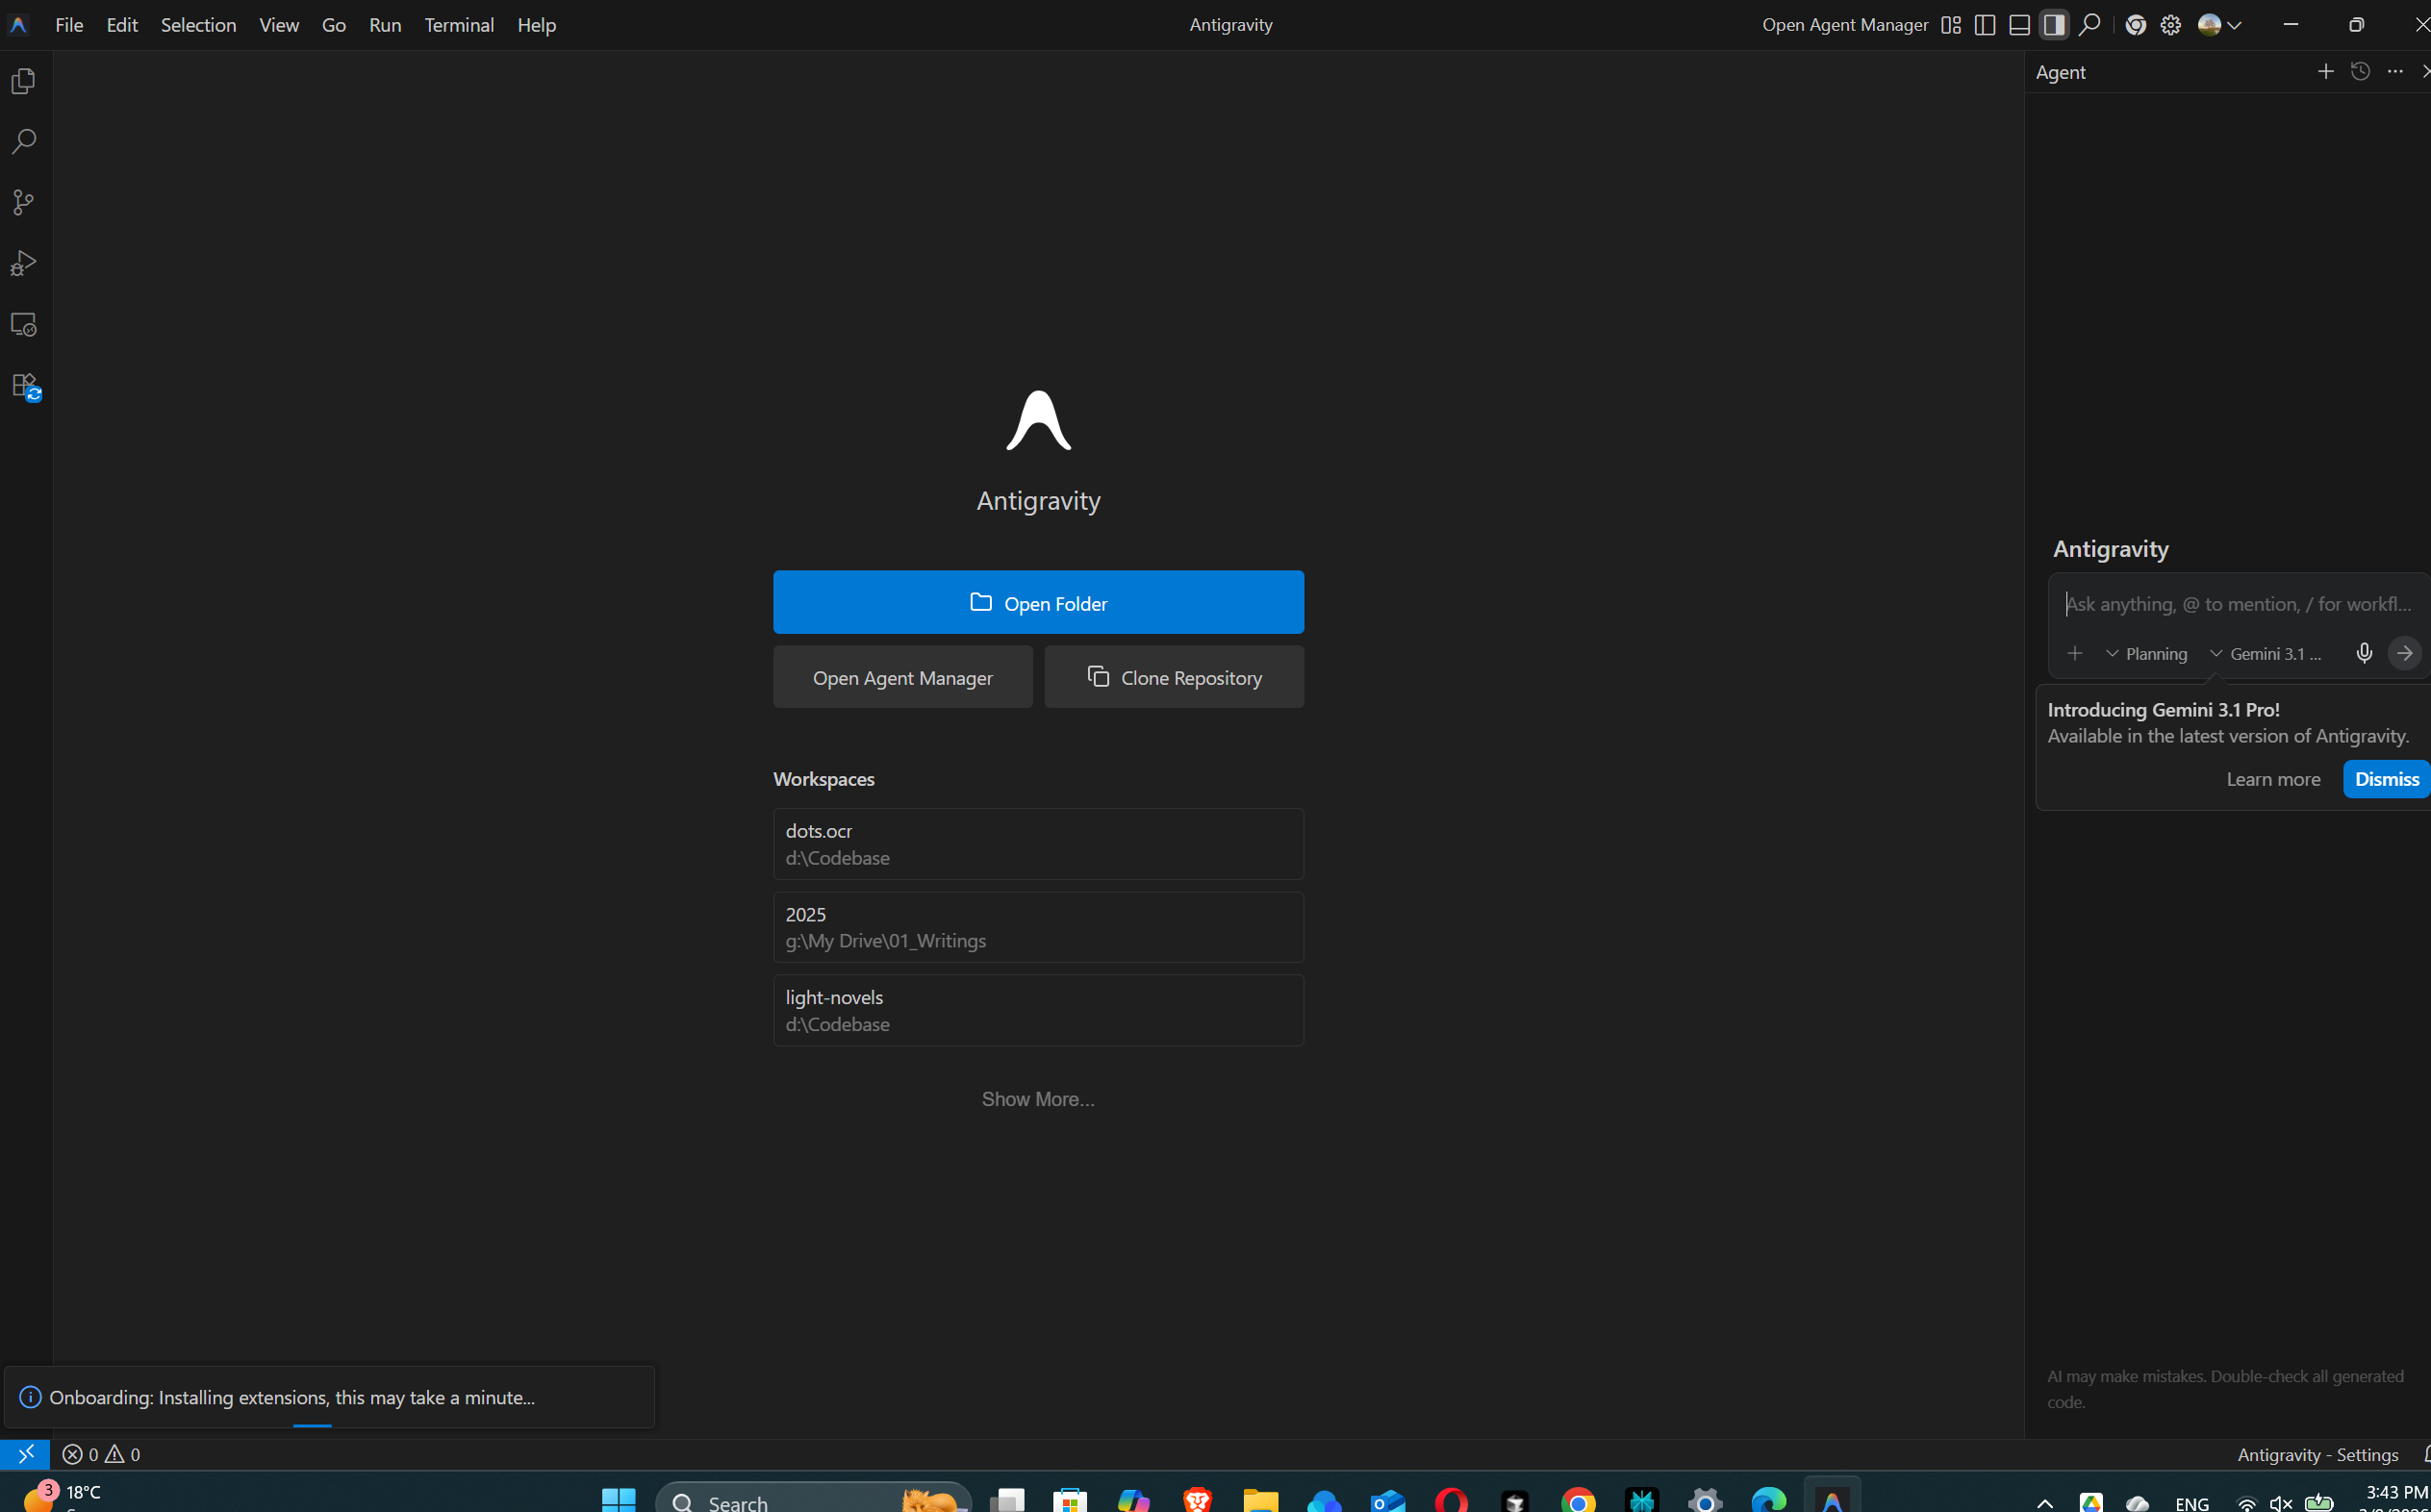
Antigravity’s AI features (including the terminal and chat panel) require an open folder to work properly. Always open a folder before using the AI chat or running terminal commands.
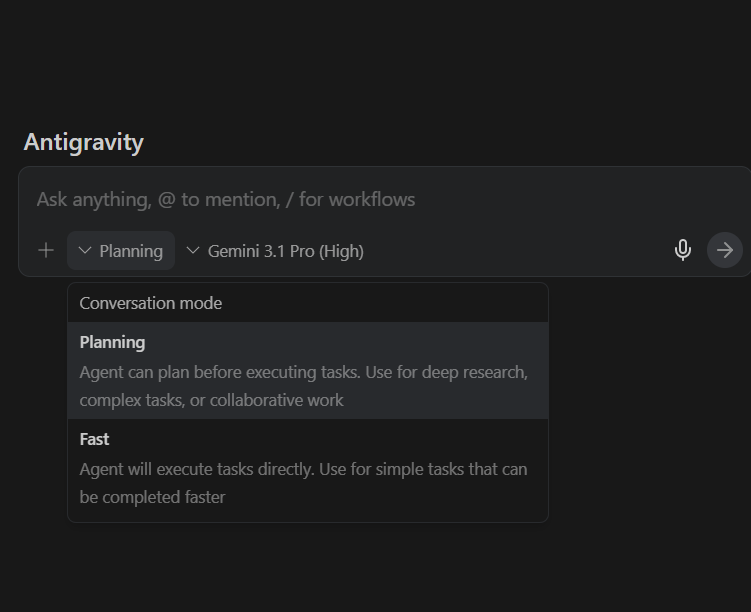
- Open the AI chat panel: Press
Cmd+Shift+I(macOS) orCtrl+Shift+I(Windows). You will see the Antigravity chat panel on the right side. You can choose between Planning mode (for complex tasks) and Fast mode (for simple tasks).
- Test it with a simple prompt:
Hello! Can you create a simple HTML page that says "Hello, World!"?Antigravity retains the full VS Code extension ecosystem. You can install any VS Code extension (e.g., Live Server, Python, Quarto) from the Extensions panel in the left sidebar.
1.3 Install Codex (via Antigravity)
Codex is an open-source coding agent by OpenAI that runs in your terminal. You give it a natural-language instruction, and it reads your files, writes code, and executes commands — all locally on your machine.
Instead of installing Codex manually, let Antigravity do it for you. Open Antigravity’s chat panel (Cmd+Shift+I / Ctrl+Shift+I) and use this prompt:
macOS:
Help me install OpenAI Codex CLI on my Mac:
1. Check if Node.js 22+ is installed by running node --version.
   If not, install it using Homebrew (brew install node).
   If Homebrew is not installed either, install Homebrew first.
2. Install Codex by running: npm install -g @openai/codex
   Important: the package name must be @openai/codex, not codex.
3. Verify the installation by running: codex --version
Windows:
Help me install OpenAI Codex CLI on Windows:
1. Check if Node.js 22+ is installed by running node --version.
   If not, walk me through downloading and installing it from
   https://nodejs.org, making sure "Add to PATH" is checked.
2. Install Codex by running: npm install -g @openai/codex
   Important: the package name must be @openai/codex, not codex.
3. Verify the installation by running: codex --version
After installation, run codex in the terminal and sign in with your ChatGPT account when prompted.
As a Harvard student, you have access to ChatGPT Edu through Harvard. Go to https://www.huit.harvard.edu/openai-chatgpt-edu to activate your account. Once activated, you can use your Harvard ChatGPT Edu account to authenticate Codex.
Windows users: Codex works best on macOS and Linux. On Windows, the recommended approach is to use Codex inside WSL (Windows Subsystem for Linux).
1.4 Use AI Agents to Install Everything Else
Now that you have a GitHub account, Antigravity, and Codex, use them to install and configure the remaining tools. Pick whichever agent you prefer — both can accomplish the same tasks.
Install Homebrew (macOS) or Verify winget (Windows)
A package manager lets you install software from the command line with a single command, instead of downloading installers from websites.
macOS:
I'm on macOS. Check if Homebrew is installed by running
brew --version. If not, install it for me. After installation,
make sure it is added to my PATH and verify it works.
Windows:
I'm on Windows. Check if winget is installed by running
winget --version. If it is not recognized, walk me through
updating App Installer from the Microsoft Store to get winget.macOS:
codex "Check if Homebrew is installed. If not, install it. After installation, verify it works by running brew --version."Windows:
codex "Check if winget is installed by running winget --version. If not found, explain how to install it by updating App Installer from the Microsoft Store."Install Git and GitHub CLI
Check if Git and GitHub CLI are installed on my computer by
running git --version and gh --version. If either is missing,
install them using [Homebrew / winget]. After installation,
verify both tools are working. Then run gh auth login so I
can authenticate with my GitHub account.
Replace [Homebrew / winget] with your platform’s package manager.
codex "Check if Git and GitHub CLI (gh) are installed. If not, install them using [brew / winget]. Verify both are working, then run gh auth login to authenticate with GitHub."Configure Git and Fix the Email Issue
Once Git is installed, use an agent to configure Git and set up email privacy:
Help me configure Git and set up commit email privacy:

1. Set my Git username with git config --global user.name
2. Check my current commit email with git config --global user.email
3. Walk me through going to https://github.com/settings/emails
   to enable "Keep my email addresses private" and
   "Block command line pushes that expose my email"
4. Update my local git config to use the GitHub noreply email
   (format: ID+USERNAME@users.noreply.github.com)
5. Verify the change with a test commitcodex "Configure my Git user.name to 'My Name'. Then check my commit email with git config --global user.email. If it is a personal email, tell me to go to https://github.com/settings/emails to enable email privacy and get my noreply email, then update git config --global user.email with the noreply address. Verify the change."Publish to GitHub Pages
Help me create and deploy a personal website to GitHub Pages:

1. Create a GitHub repository named my-username.github.io
   using gh repo create (replace my-username with my actual
   GitHub username)
2. Build a complete personal academic website using plain HTML
   and CSS with these files:
   - style.css: clean minimal academic design with dark nav bar,
     serif font, blog entry layout, and footer
   - index.html: About Me with bio, research interests, contact
   - publications.html: Journal Articles, Book Chapters,
     Conference Papers with placeholder citations
   - projects.html: two placeholder projects
   - blog.html: one sample blog entry with date
   All pages share the same nav bar and footer, link to style.css
3. Create .github/workflows/deploy.yml to deploy plain HTML/CSS
   to GitHub Pages using the official actions (configure-pages,
   upload-pages-artifact, deploy-pages), triggered on push to
   main and manual dispatch
4. Commit everything and push to GitHub
5. Tell me how to enable GitHub Pages in Settings > Pages
by selecting "GitHub Actions" as the sourcecodex "Create a GitHub repo named my-username.github.io using gh repo create --public --clone, cd into it, then build a personal academic website with style.css (clean minimal design, dark nav, serif font, blog layout), index.html (About Me, bio, research interests, contact), publications.html (Journal Articles, Book Chapters, Conference Papers), projects.html (two projects), blog.html (one blog entry). All pages share nav bar and footer. Also create .github/workflows/deploy.yml for GitHub Pages deployment using actions/configure-pages, upload-pages-artifact, and deploy-pages. Commit and push to main."After the push completes, go to your repository on GitHub → Settings → Pages → select GitHub Actions as the source. Your site will be live at https://your-username.github.io.
Install GLM-OCR
GLM-OCR is a local OCR tool that uses the GLM-OCR model (a 0.9B parameter vision-language model) to convert scanned documents and images into structured Markdown with tables, formulas, and layout-aware text — all running locally on your machine. No data leaves your computer.
- macOS (Apple Silicon): Uses the MLX framework for fast local inference on the Metal GPU.
- Windows: Uses Ollama for local inference.
macOS (Apple Silicon only — M1/M2/M3/M4):
Help me install GLM-OCR from https://github.com/fccs-dci/glm-ocr-mlx:
1. Check if Python 3.12+ is installed (python3 --version).
   If not, install it.
2. Check if Git is installed. If not, install it.
3. Clone the repository: git clone https://github.com/fccs-dci/glm-ocr-mlx.git
4. Tell me to double-click launch.command in Finder to start the
   application. It will automatically create a virtual environment,
   download model weights, and open the web UI at localhost:5003.
Windows:
Help me install GLM-OCR from https://github.com/fccs-dci/glm-ocr-mlx:
1. Check if Python 3.12+ is installed (python --version).
   If not, install it and make sure "Add to PATH" is checked.
2. Check if Git is installed. If not, install it using winget.
3. Clone the repository: git clone https://github.com/fccs-dci/glm-ocr-mlx.git
4. Tell me to double-click launch.bat to start the application.
   It will automatically install Ollama if needed, download the
model, and open the web UI at localhost:5003.codex "Clone https://github.com/fccs-dci/glm-ocr-mlx.git and tell me how to launch it. On macOS I should double-click launch.command, on Windows I should double-click launch.bat. Check that Python 3.12+ and Git are installed first."GLM-OCR requires an Apple Silicon Mac (M1/M2/M3/M4) for the macOS version. It does not work on Intel Macs. On the first run, the launcher downloads model weights (~20 GB on macOS, ~5 GB on Windows), so make sure you have enough disk space and a stable internet connection.
Customize Your Website
Once the basic site is deployed, try these prompts to customize it:
Add a profile photo to index.html. The image file is called
photo.jpg and should appear at the top of the page, centered,
with a circular crop and a max width of 200px.
Add the necessary CSS to style.css.Make my website responsive for mobile devices. Update style.css
so that the navigation bar stacks vertically on small screens,
the body padding adjusts, and text sizes scale appropriately.
Use CSS media queries for screens smaller than 600px.Change the color scheme of my website to use a light blue
navigation bar (#3498db) with white text, and update the
heading colors to match. Keep the design clean and professional.Add a new blog post to blog.html. The title is "My Research Update",
the date is March 9, 2026, and the content is a short paragraph
about discovering a new primary source. Put it above the existing
blog entry so newest posts appear first.Session 2: Step-by-Step Reference
This section provides detailed manual instructions for every tool. Use it if you prefer to install things yourself, if the AI agent approach did not work, or if you need to troubleshoot a specific step.
Package Managers
A package manager lets you install, update, and manage software from the command line with a single command.
Homebrew (macOS)
Homebrew is the most popular package manager for macOS. Open Terminal and run:
/bin/bash -c "$(curl -fsSL https://raw.githubusercontent.com/Homebrew/install/HEAD/install.sh)"The script will explain what it will do and pause before doing it. Follow the on-screen instructions — you may need to enter your password.
After installation, verify it works:
brew --versionAfter installation, Homebrew may display instructions to add it to your PATH. If you see a message like “Add Homebrew to your PATH”, follow those instructions — otherwise the brew command will not be recognized in new terminal sessions.
winget (Windows)
winget is Windows’ built-in package manager. It comes pre-installed on Windows 10 (version 1809+) and Windows 11.
Verify it is available by opening PowerShell or Command Prompt:
winget --versionIf the command is not recognized, update the App Installer from the Microsoft Store:
- Open the Microsoft Store.
- Search for “App Installer”.
- Click Update (or Install if it is not installed).
After updating, restart your terminal and try winget --version again.
Antigravity (Code Editor)
Antigravity is a free, AI-powered code editor by Google, built on VS Code with built-in Gemini AI assistants.
System Requirements
| Requirement | Details |
|---|---|
| Operating system | macOS, Windows, or Linux |
| Account | A Gmail account (personal Gmail is fine) |
| Browser | Chrome (for some companion features) |
| Cost | Free for individuals |
Installation
- Go to https://antigravity.google/download.
- Download the installer for your platform.
- Install:
macOS:
- Open the downloaded
.dmgfile. - Drag the Antigravity icon into the Applications folder.
- Open Antigravity from your Applications folder.
- If macOS displays a security warning, go to System Settings > Privacy & Security and click “Open Anyway”.
Windows:
- Run the downloaded
.exeinstaller. - Follow the on-screen installation prompts.
- Launch Antigravity from the Start menu or desktop shortcut.
Create a Project Folder
Before using Antigravity, create a folder called eastd199 on your Desktop:
- macOS: Open Finder → go to Desktop → right-click → New Folder → name it
eastd199. - Windows: Open File Explorer → go to Desktop → right-click → New → Folder → name it
eastd199.
First Launch Setup
When you open Antigravity for the first time, it walks you through a setup wizard:
- Welcome screen: Click Next to proceed.
- Choose setup flow: Select “Start fresh” (unless you want to import settings from VS Code, Windsurf, or Cursor). Click Next.
- Choose an editor theme: Pick any theme you like. Click Next.
- Choose agent mode: Select “Agent-driven development” — this lets the AI agent execute commands and write files autonomously. Click Next.
- Configure your editor: Keep Normal keybindings and Recommended extensions. Click Next.
- Sign into Google: Click “Sign in with Google” and log in with your Gmail account.
Getting Started
- After sign-in, you will see the main Antigravity screen. Click “Open Folder” and select the
eastd199folder on your Desktop.
Antigravity’s AI features (including the terminal and chat panel) require an open folder to work properly. Always open a folder before using the AI chat or running terminal commands.
- Open the AI chat panel with
Cmd+Shift+I(macOS) orCtrl+Shift+I(Windows/Linux). You can choose between Planning mode (complex tasks) and Fast mode (simple tasks).
- Try a simple prompt to verify it works:
Hello! Can you create a simple HTML page that says "Hello, World!"?Codex (Terminal Coding Agent)
Codex is an open-source coding agent by OpenAI that runs in your terminal. Your code stays on your machine; the AI reasoning happens in OpenAI’s cloud.
Prerequisites
| Requirement | Details |
|---|---|
| Node.js | Version 22 or higher |
| Account | A ChatGPT account (Plus, Pro, Business, Edu, or Enterprise) or an OpenAI API key |
Install Node.js
- macOS: Download from https://nodejs.org or install via Homebrew:
brew install node- Windows: Download the installer from https://nodejs.org. Make sure to check “Add to PATH” during installation.
Verify:
node --versionThe output should be v22.x.x or higher.
Installation
Install Codex globally via npm:
npm install -g @openai/codexThe package name is @openai/codex — not codex. The unscoped codex package on npm is an entirely different, unrelated tool.
Alternatively, on macOS:
brew install --cask codexAuthentication
Run Codex for the first time:
codexYou will be prompted to sign in with your ChatGPT account or provide an OpenAI API key. Codex is included with ChatGPT Plus, Pro, Business, Edu, and Enterprise plans.
As a Harvard student, you have access to ChatGPT Edu through Harvard. Go to https://www.huit.harvard.edu/openai-chatgpt-edu to activate your account. Once activated, you can use your Harvard ChatGPT Edu account to authenticate Codex.
Basic Usage
Navigate to a project folder and ask Codex to do something:
cd my-project
codex "Create an index.html file with a navigation bar linking to four pages"
Codex will show you what it plans to do and ask for confirmation before making changes.
Consider creating a Git commit before each Codex task so you can easily revert changes if needed:
git add . && git commit -m "checkpoint before codex"Windows users: Codex works best on macOS and Linux. On Windows, the recommended approach is to use Codex inside WSL (Windows Subsystem for Linux).
Register a GitHub Account
GitHub is a cloud platform for hosting Git repositories. We use GitHub to host your personal website via GitHub Pages.
If you already have a GitHub account, skip to “Install Git and GitHub CLI” below.
Step 1: Sign Up
- Go to https://github.com/signup.
- Enter your email address, create a password, and choose a username.
- Alternatively, click “Continue with Google” to use your Gmail account.
- Complete the verification (CAPTCHA) to confirm you are human.
- Click “Create account”.
Choose your username carefully — it will become part of your website URL: https://your-username.github.io. A short, professional username is recommended.
Step 2: Verify Your Email
GitHub will send a verification email to the address you provided. Open it and click the verification link. You must verify your email to access all GitHub features.
Step 3: Enable Two-Factor Authentication (2FA)
GitHub strongly recommends enabling 2FA for account security:
- Go to https://github.com/settings/security.
- Under Two-factor authentication, click Enable.
- Follow the prompts to set up 2FA using an authenticator app (e.g., Google Authenticator, Microsoft Authenticator) or a passkey.
Step 4: Install Git and GitHub CLI
You need Git (version control) and GitHub CLI (gh, for interacting with GitHub from the terminal) installed on your computer.
Install Git
- macOS: Install via Xcode Command Line Tools:
xcode-select --install- Windows: Download from https://git-scm.com/download/win or run:
winget install --id Git.GitVerify:
git --versionInstall GitHub CLI
- macOS:
brew install gh- Windows:
winget install --id GitHub.cliVerify:
gh --versionAuthenticate GitHub CLI
gh auth loginFollow the prompts to authenticate with your GitHub account. This allows you to create repositories, push code, and manage GitHub from the terminal.
Step 5: Configure Git
Set your name and email for Git commits:
git config --global user.name "Your Name"
git config --global user.email "your-email@example.com"Read the next section on Git email privacy before setting your email. You may want to use GitHub’s private noreply email instead of your personal email.
Solving the Git Email Issue
When you make a commit, Git attaches an email address to it. By default, this is whatever email you configured with git config. If you push to a public repository, anyone can view your commit history and see your personal email address. This section walks you through how to hide your real email and use GitHub’s private noreply email instead.
Your commit email is permanently baked into the commit history. Even if you change your email later, old commits will still show the old email. Set this up correctly before making more commits.
Step 1: Check Your Current Commit Email
git config --global user.emailIf this shows your personal email (e.g., yourname@gmail.com), you should change it.
Step 2: Enable Email Privacy on GitHub
- Go to https://github.com/settings/emails.
- Scroll down and check the box labeled “Keep my email addresses private”.
- GitHub will display your
noreplyemail in the format:
ID+USERNAME@users.noreply.github.comCopy this email — you will need it in the next step.
Step 3: Block Pushes That Expose Your Email
On the same settings page:
- Check the box labeled “Block command line pushes that expose my email”.
This acts as a safety net — if you accidentally try to push a commit with your personal email, GitHub will reject it.
Step 4: Update Your Local Git Config
git config --global user.email "ID+USERNAME@users.noreply.github.com"Replace ID+USERNAME@users.noreply.github.com with your actual noreply email from Step 2.
Verify:
git config --global user.emailStep 5: Verify with a Test Commit
- Make a small change to any file in a repository.
- Stage and commit:
git add .
git commit -m "Test commit with private email"- Check the commit email:
git log -1 --format='%ae'If it shows your noreply email, you are all set.
- Push to GitHub:
git pushIf the push succeeds, your email privacy is correctly configured.
Quick Reference
| Step | Action | Where |
|---|---|---|
| 1 | Check current commit email | Terminal: git config --global user.email |
| 2 | Enable “Keep my email addresses private” | GitHub Email Settings |
| 3 | Enable “Block command line pushes that expose my email” | GitHub Email Settings |
| 4 | Set noreply email in Git config |
Terminal: git config --global user.email "..." |
| 5 | Verify with a test commit | Terminal: git log -1 --format='%ae' |
For more details, see the official GitHub documentation: Setting your commit email address.
Publishing to GitHub Pages
GitHub Pages lets you host a website directly from a GitHub repository — for free. Every push to your repository automatically updates your live website.
Step 1: Create the Repository
Your personal website must be hosted at https://your-username.github.io. GitHub Pages requires a repository with a specific name:
gh repo create your-username.github.io --public --clone
cd your-username.github.io
Replace your-username with your actual GitHub username.
The repository name must be exactly your-username.github.io. If it does not match your GitHub username, GitHub Pages will not deploy to the root URL.
Step 2: Create Your Website Files
Open the project in Antigravity:
code .Create the following file structure:
your-username.github.io/
├── index.html          (About Me - homepage)
├── publications.html   (Publications page)
├── projects.html       (Projects page)
├── blog.html           (Blog page)
├── style.css           (Shared stylesheet)
└── .github/
    └── workflows/
        └── deploy.yml  (GitHub Actions workflow)
You can write these files yourself, or refer to Session 1 for AI prompts that generate everything at once.
Step 3: Preview Locally
Before deploying, preview your site in a browser:
- macOS:
open index.html - Windows:
start index.html
Or use the Live Server extension in Antigravity: right-click index.html → “Open with Live Server”.
Step 4: Set Up GitHub Actions for Deployment
Create the workflow directory:
mkdir -p .github/workflowsCreate the file .github/workflows/deploy.yml with the following content:
on:
  workflow_dispatch:
  push:
    branches: main

name: Deploy to GitHub Pages

permissions:
  contents: read
  pages: write
  id-token: write

jobs:
  deploy:
    runs-on: ubuntu-latest
    environment:
      name: github-pages
      url: ${{ steps.deployment.outputs.page_url }}
    steps:
      - name: Check out repository
        uses: actions/checkout@v4

      - name: Setup Pages
        uses: actions/configure-pages@v4

      - name: Upload artifact
        uses: actions/upload-pages-artifact@v3
        with:
          path: '.'

      - name: Deploy to GitHub Pages
        id: deployment
uses: actions/deploy-pages@v4If you use a different framework (Quarto, Hugo, Jekyll), you will need a workflow with a build step. Ask Antigravity or Codex:
Create a GitHub Actions workflow to build and deploy
a [Quarto/Hugo/Jekyll] site to GitHub Pages.
Step 5: Commit and Push
git add .
git commit -m "Initial website with About, Publications, Projects, and Blog pages"
git branch -M main
git push -u origin main
Step 6: Enable GitHub Pages
- Go to your repository on GitHub:
https://github.com/your-username/your-username.github.io - Click Settings → Pages (in the left sidebar).
- Under Source, select GitHub Actions.
You must select GitHub Actions as the source, not “Deploy from a branch”. This is because we are using a GitHub Actions workflow to deploy the site.
After the workflow completes (check progress under the Actions tab), your website will be live at:
https://your-username.github.io
Updating Your Website
Every time you want to update your website:
- Edit your files in Antigravity (or use Codex).
- Preview locally.
- Commit and push:
git add .
git commit -m "Describe your changes"
git push- GitHub Actions automatically deploys the updated site.
GLM-OCR (Local OCR Tool)
GLM-OCR is a local OCR tool that uses the GLM-OCR model (a 0.9B parameter vision-language model) to convert scanned documents and images into structured Markdown with tables, formulas, and layout-aware text — all running locally on your machine.
- macOS (Apple Silicon): Uses the MLX framework for fast local inference on the Metal GPU.
- Windows: Uses Ollama for local inference.
Both platforms share the same web interface and the same GLM-OCR model. The only difference is the inference backend. The launcher script automatically detects your operating system and uses the correct backend.
Prerequisites
macOS (Apple Silicon)
- Apple Silicon Mac (M1, M2, M3, or M4) — Intel Macs are not supported.
- Python 3.12 or higher: Download from python.org if not installed.
- Git: Install via Xcode Command Line Tools (
xcode-select --install) or Homebrew (brew install git). - Disk space: ~20 GB for model weights (downloaded automatically on first launch).
- Memory: 16 GB unified memory minimum; 32 GB+ recommended for multi-page PDFs.
Windows
- Python 3.12 or higher: Download from python.org. During installation, check “Add Python to PATH”.
- Git: Download from git-scm.com or install via
winget install --id Git.Git. - Ollama: The launcher will install it automatically if not found. Or install manually from ollama.com.
- Disk space: ~5 GB for the Ollama model + layout detection weights.
- GPU (optional): An NVIDIA GPU with CUDA support speeds up inference. Ollama also works on CPU, but will be slower.
Installation and Launch
- Clone the repository:
git clone https://github.com/fccs-dci/glm-ocr-mlx.gitLaunch:
- macOS: Double-click
launch.commandin Finder.- If macOS blocks it: right-click → Open → confirm in the dialog.
- Windows: Double-click
launch.bat.
- macOS: Double-click
On first run, the launcher automatically:
- Creates a Python virtual environment and installs dependencies
- Downloads model weights (macOS: from Hugging Face ~20 GB; Windows: via Ollama ~5 GB)
- Installs Ollama if needed (Windows only)
The web UI opens automatically in your browser at
http://localhost:5003.Keep the terminal/command prompt open. Press
Ctrl+Cto stop when done.
After the first run, subsequent launches are much faster because the virtual environment, model weights, and dependencies are already in place.
Using the Web UI
- Upload: Drag and drop a PDF, PNG, or JPEG onto the upload area — or click to browse.
- Processing: A progress bar shows real-time status. PDFs are split into page images, then each page is OCR’d sequentially.
- Review Results: A split-panel view shows the original document on the left and the rendered Markdown on the right.
- Export: Click Export to download results as Markdown (
.md) or JSON (.json).
Troubleshooting
| Problem | Solution |
|---|---|
macOS blocks launch.command |
Right-click → Open → confirm |
| “Python 3.12 or higher is required” | Install latest Python from python.org |
| First scan is very slow | Normal — model loads into memory on first request |
| Out of memory (macOS) | Close other apps; 16 GB minimum, 8 GB Macs may struggle |
| Ollama fails to start (Windows) | Check if port 11434 is in use; restart computer |
| Model pull fails (Windows) | Check internet; manually run ollama pull glm-ocr:latest |
Do not update Ollama beyond version 0.17.0 on Windows — newer versions may have compatibility issues with GLM-OCR.